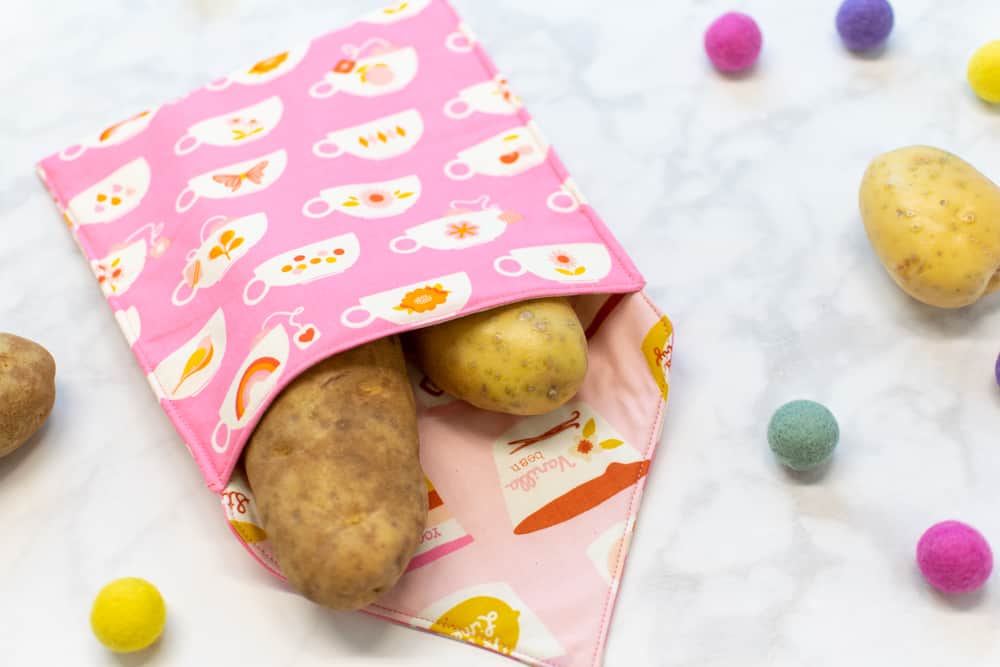
If waiting (what feels like) ages for your baked potatoes to cook in the oven isn't your jam, you may want to try making baked potatoes in the microwave! But often microwaved potatoes just aren't the same - they can be dry with a papery, tasteless skin. a microwave potato bag solves that problem!
With a microwave potato bag, you can have moist, fluffy baked potatoes on the table in under 10 minutes!
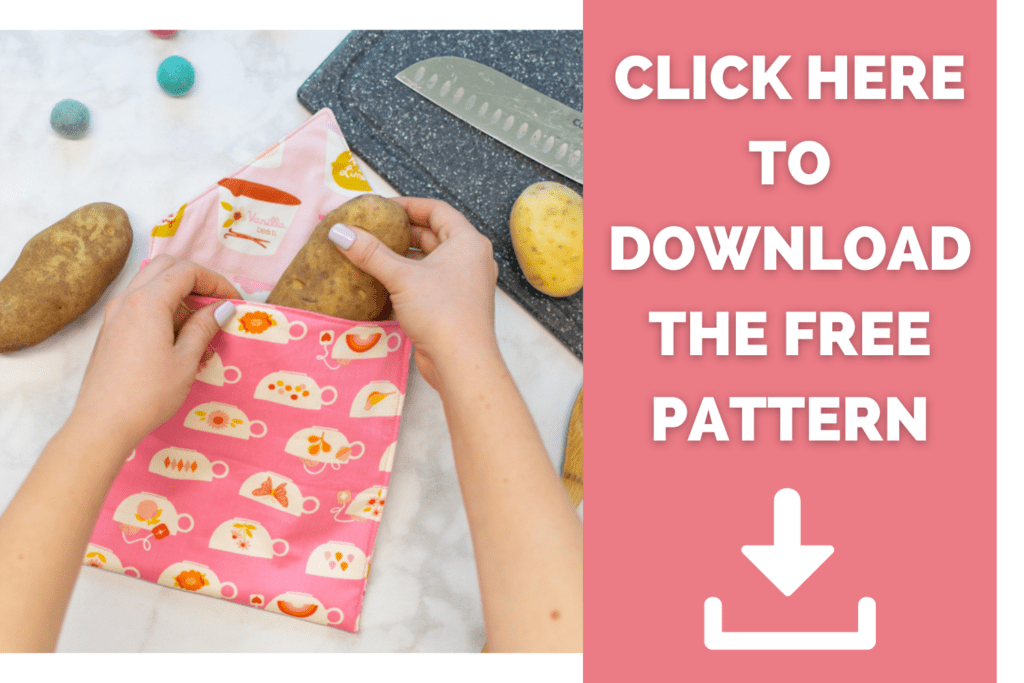
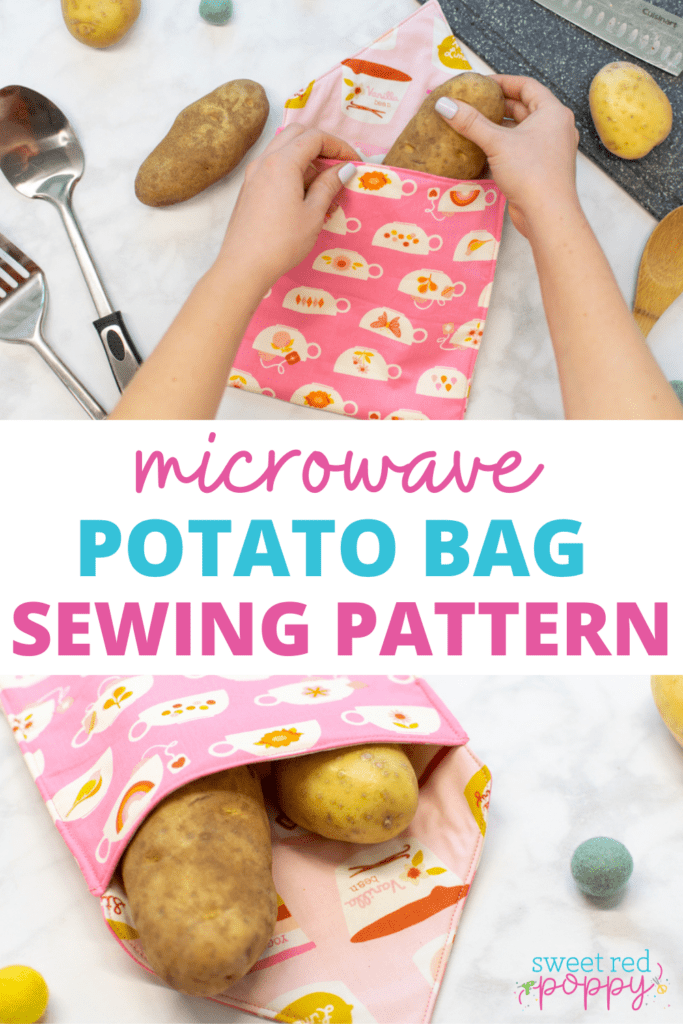
I'm bringing you my free, easy-to-sew potato bag pattern so you can stitch one up to try for yourself! I promise, you'll never bake a potato in the oven again!
Table of Contents
A microwave potato bag is a fabric pouch that you place potatoes (or other veggies) into before cooking in the microwave.
When baking potatoes uncovered in the microwave, a lot of moisture tends to get sucked out, resulting in a dry, crumbly potato. Even the skin is usually brittle and papery.
The pouch helps to keep moisture locked in during the cooking process, allowing you to make a tender, moist baked potato in the microwave.
Using a microwave potato bag also speeds up the cooking process. You can cook a perfect baked potato in less than 10 minutes using a potato bag in the microwave!
You can also use your potato bag to cook other veggies in the microwave, such as corn, sweet potatoes, and squash!
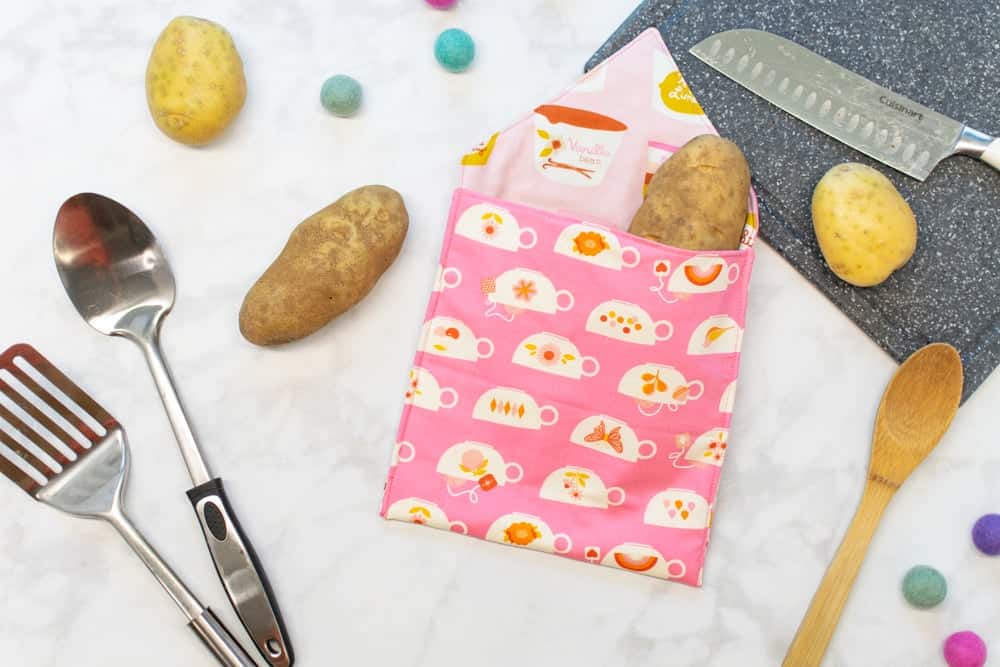
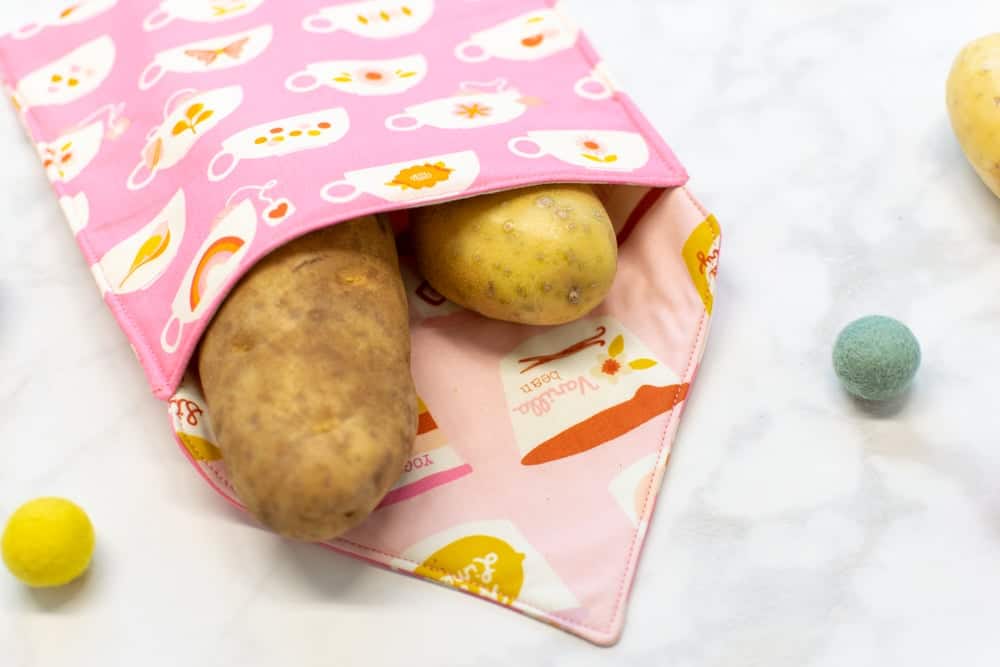
To use your microwave potato bag, first place your potato (or potatoes) inside of the pouch. Note that you do not need to poke holes in your potatoes when cooking them with this method.
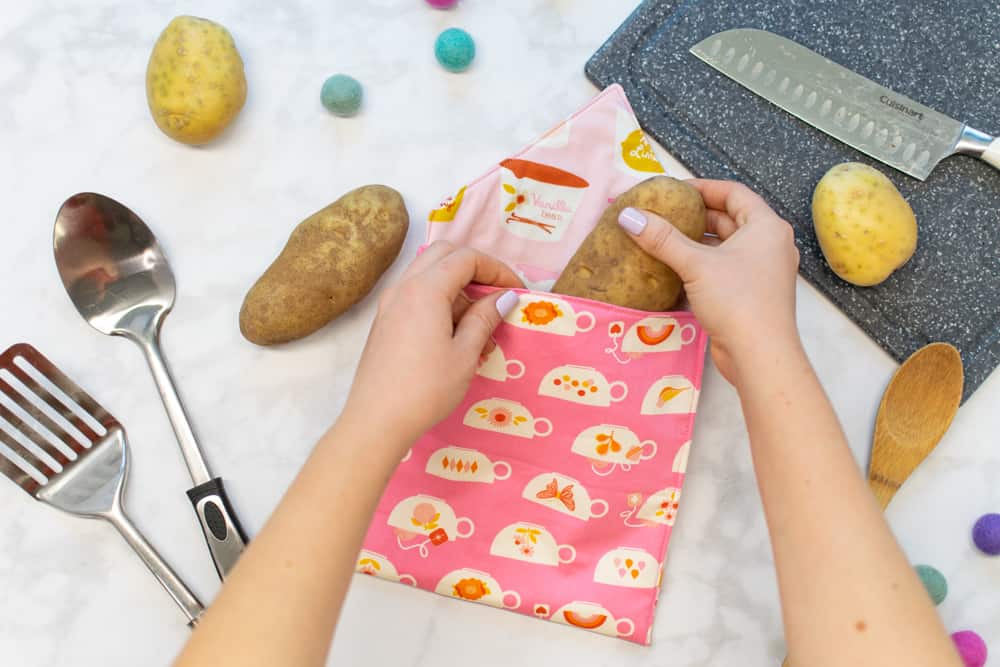
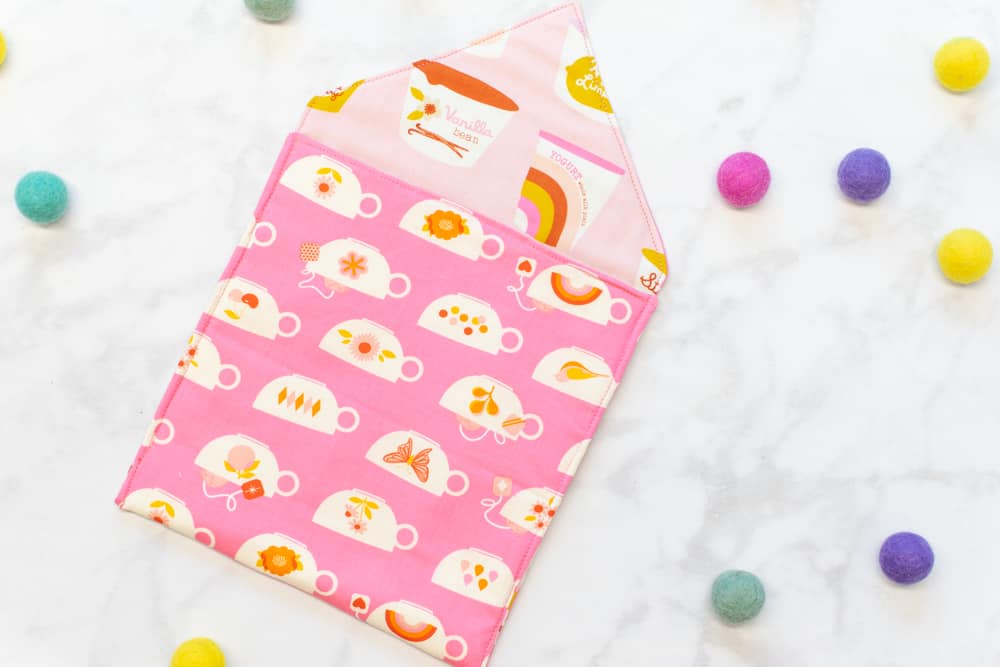
Next, fold the flap down to close the opening in the top of the bag.
Place the potato bag, with the potatoes inside, into the microwave with the flap side down. This will keep the flap closed during the cooking process.
Next, if your microwave has a "baked potato" button, you can hit this button. If not, turn the microwave on high for 4 minutes.
After the 4 minutes is up, open the bag and check the potatoes.
If they are not cooked enough, return them to the microwave inside the pouch and cook for an additional 2-4 minutes, depending on the size of the potatoes.
The exact cook time for the perfect potato will depend on your tastes as well as the power/wattage of your particular microwave, so I highly recommend experimenting with the time until you find your favorite cook time.
Here are the cook times that I've found I like with my microwave. You can use these times as a good starting place for estimating cook times.
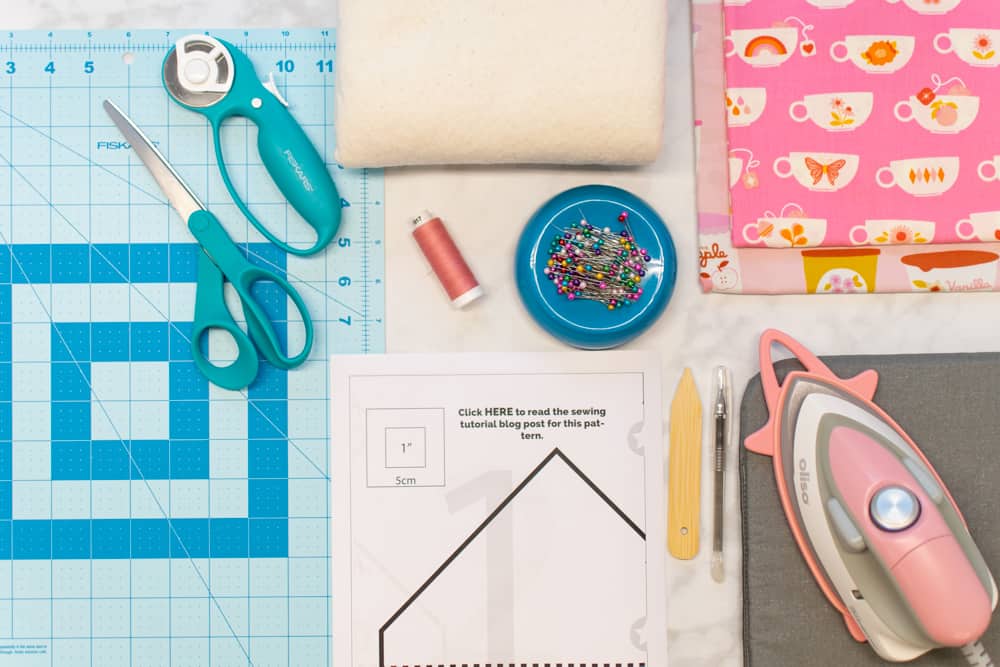
When sewing a microwave potato bag - or any project that will go in the microwave - it's essential to only use 100% cotton materials. This includes fabric, batting, and thread.
If you were to use materials that include synthetics, such as polyester, your potato bag may melt or burn in the microwave. In addition, make sure not to use Insul-bright Heat Resistant Batting, because it contains metalized fibers that will spark in the microwave.
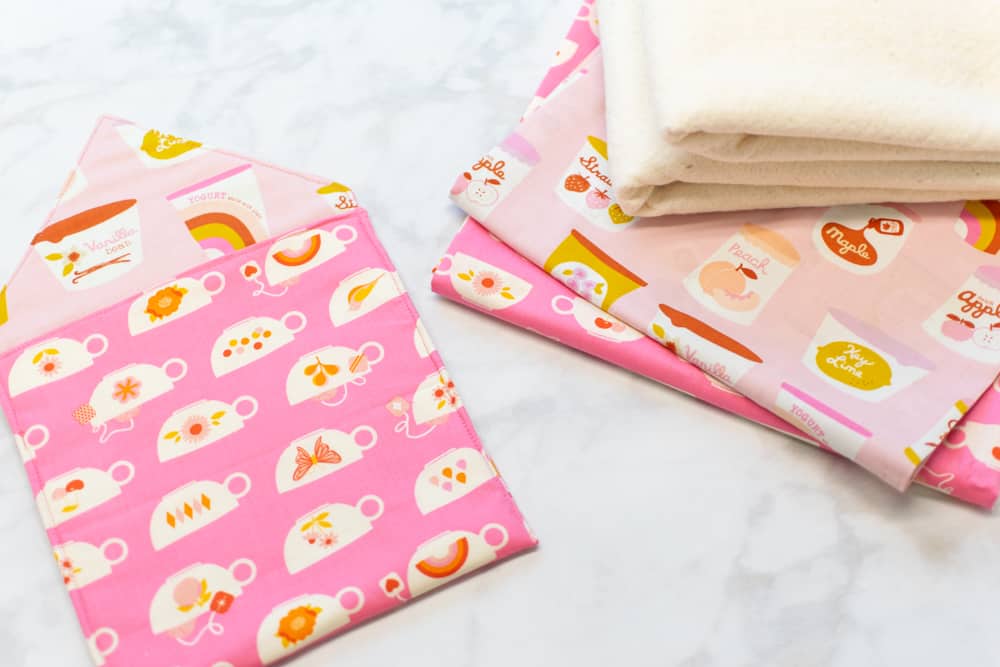
I recommend using high-quality quilting cotton for your microwave potato bag along with cotton thread. For your batting, you can use any 100% cotton batting. My favorite batting for this project is Pellon Wrap-N-Zap, which is made to be used in microwave-friendly projects.
Here are the supplies and materials you'll need to make this microwave potato bag.
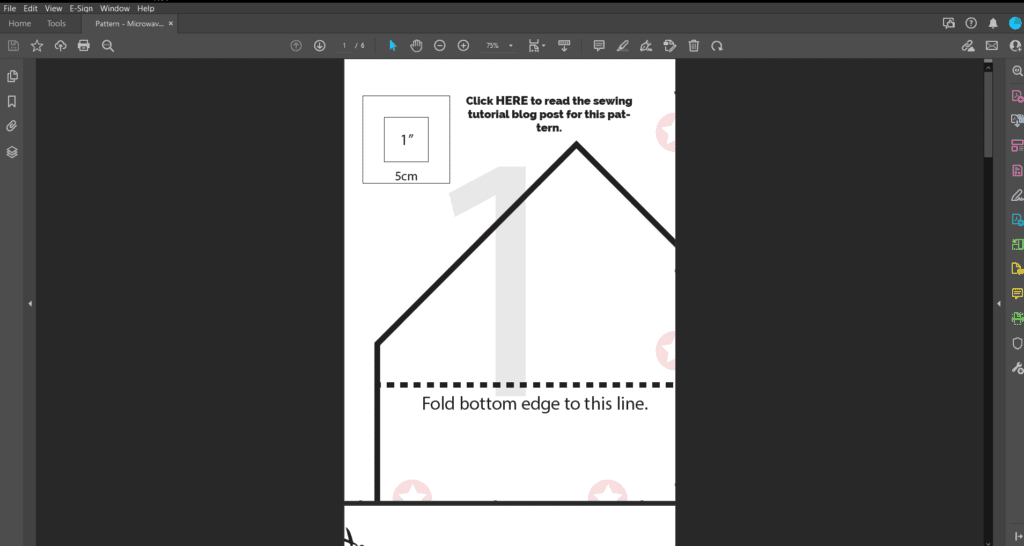
Start by downloading the free pattern to your computer using the link above. Open the pattern in your PDF viewer - I highly recommend Adobe Acrobat.
It's important not to print the pattern directly from your browser. This can result in the pattern printing at the wrong size and with wonky border lines.
Next, click on "print" in your PDF reader. This should bring up a print settings box. In this box, change the scaling to "Actual Size" or "Custom Scaling: 100%".
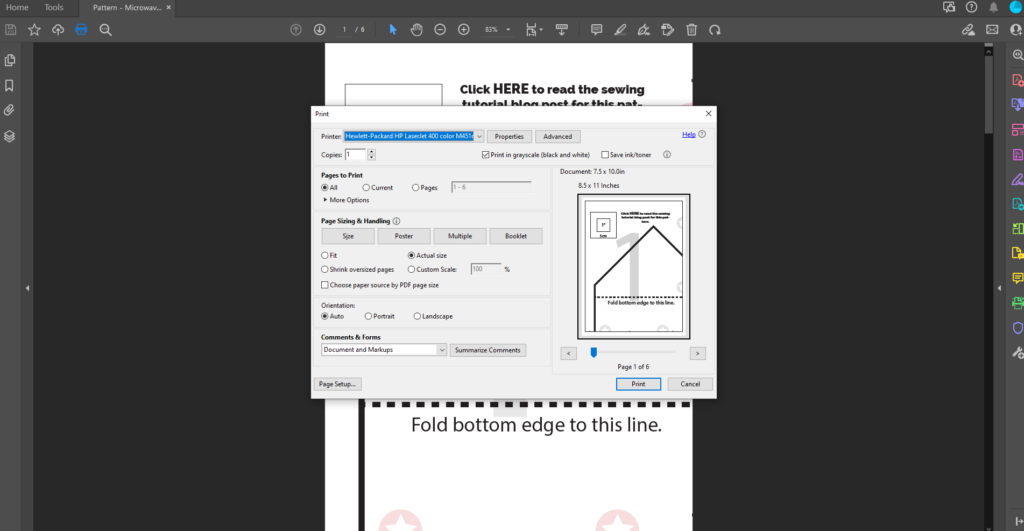
Then, print Page 1 of the pattern. This page contains a 1" x 1" test square.
Measure the test square. If it measures 1" x 1", then proceed with printing the remaining pages of the pattern. If it does not measure 1" x 1", you will need to recheck your print settings and print the pattern again.
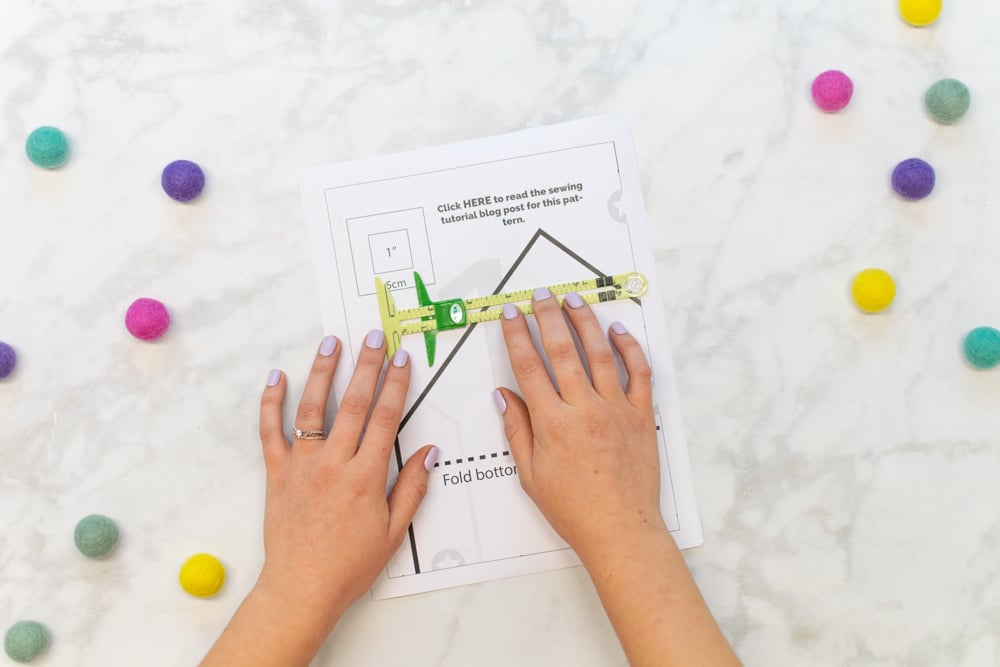
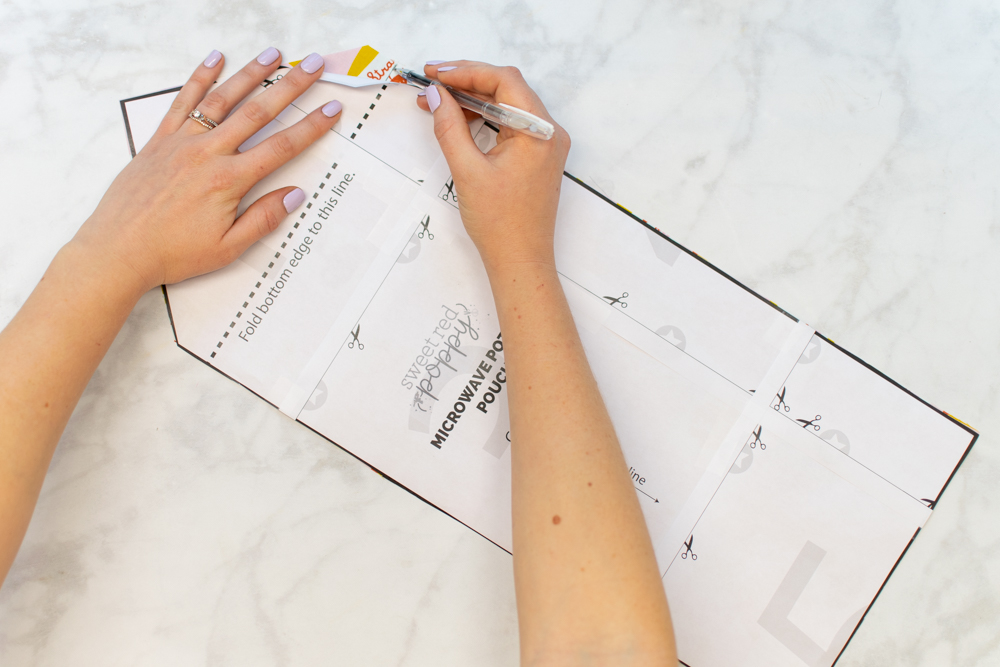
Next, you will need to assemble and tape together the pattern according to the layout chart below.
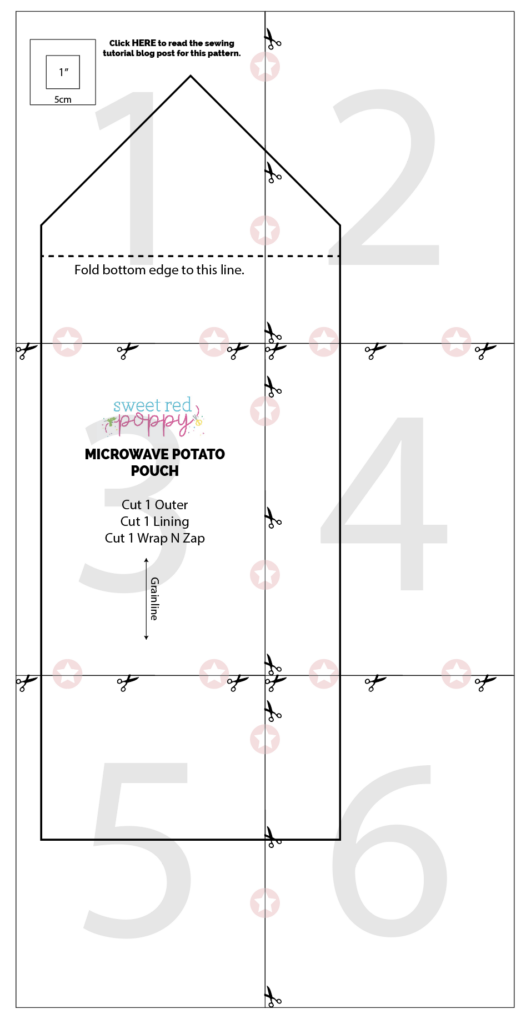
Each page has a large number printed in the center to help you keep the papers in the correct order.
When lining up the pages, it can help to trim away the excess paper along the border lines. Alternatively, you can simply overlap the paper margins. If you decide to overlap the edges, holding the pages up to a light can help you see through the paper and align the pattern lines correctly.
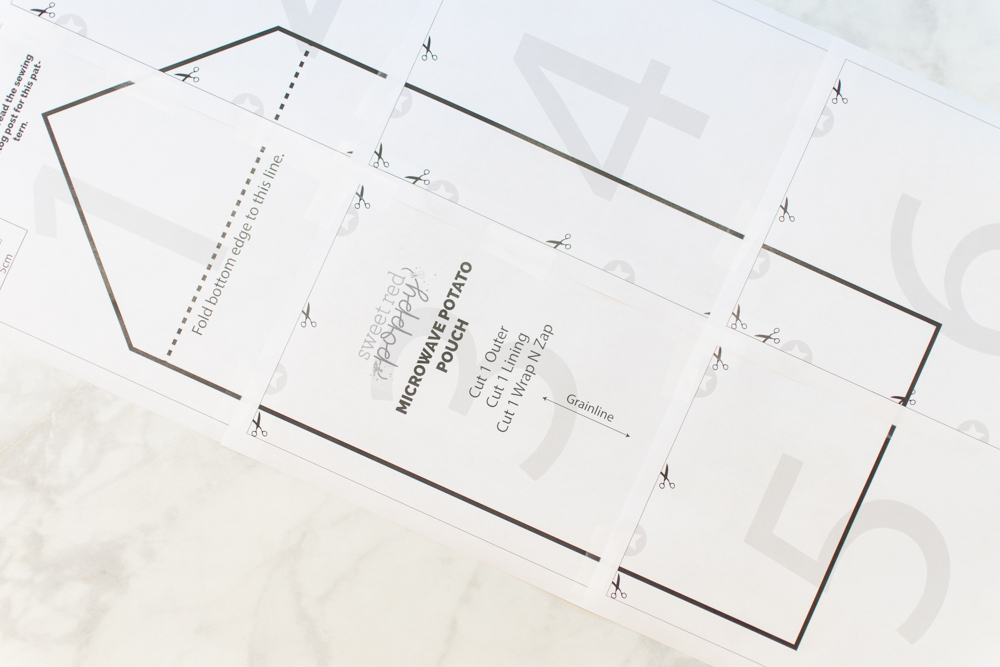
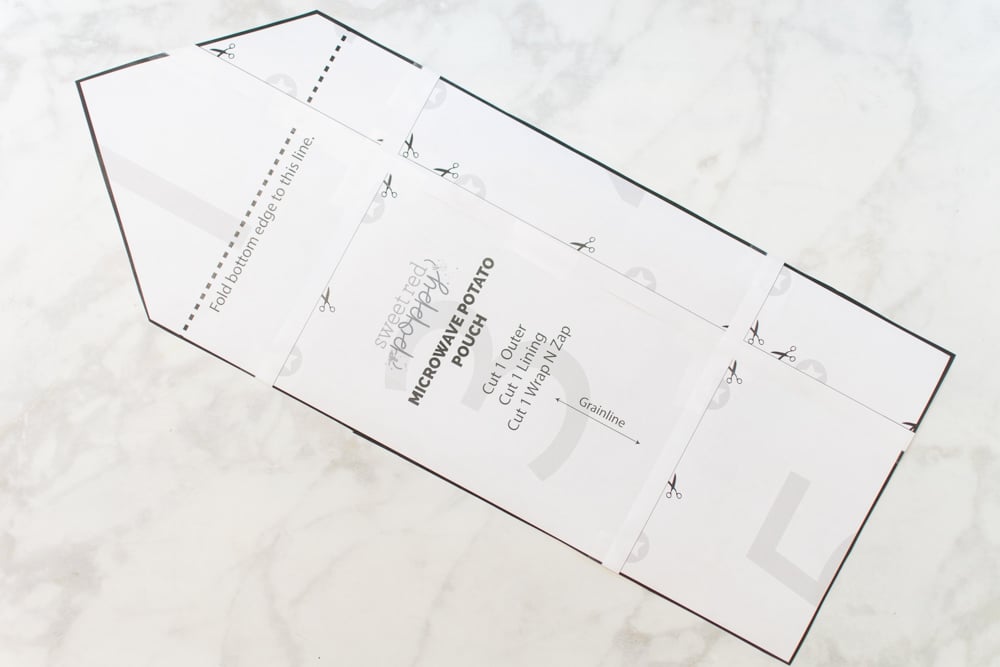
Once assembled, cut out the potato bag pattern piece.
With your pattern prepared, it's now time to cut out the pieces of your potato bag.
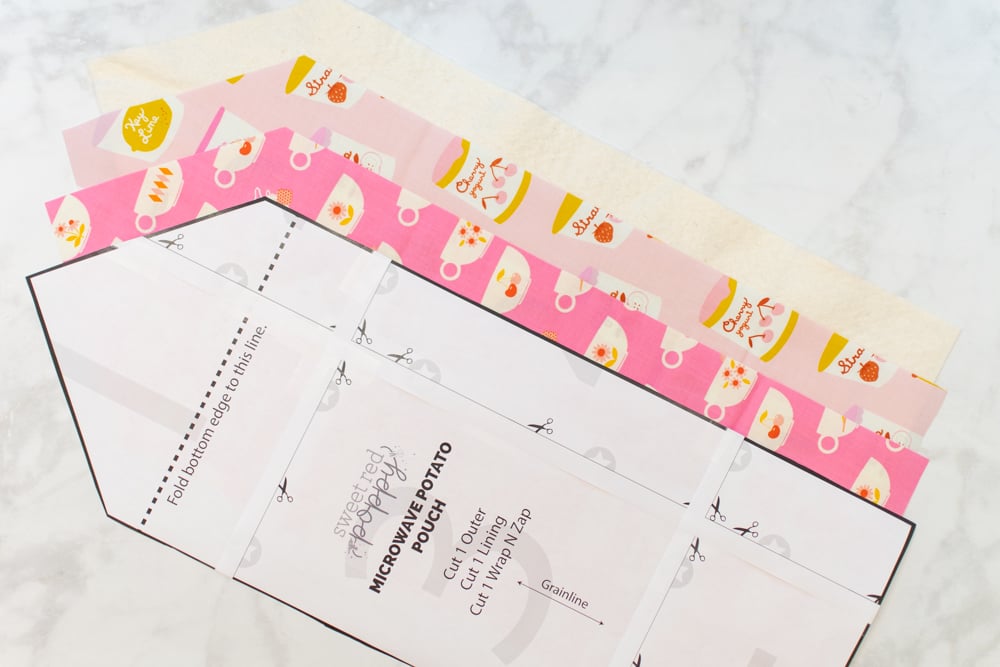
Cut the following number of pieces from your outer fabric, lining fabric, and wrap-n-zap.
Outer: Cut 1
Lining: Cut 1
Wrap-N-Zap: Cut 1
Next, transfer the fold line marking below the triangular top of the pattern piece onto the right side of your lining fabric.
You're now ready to start stitching!
First, place the outer fabric piece right side up on your table, then lay the lining on top of it with the right side down.
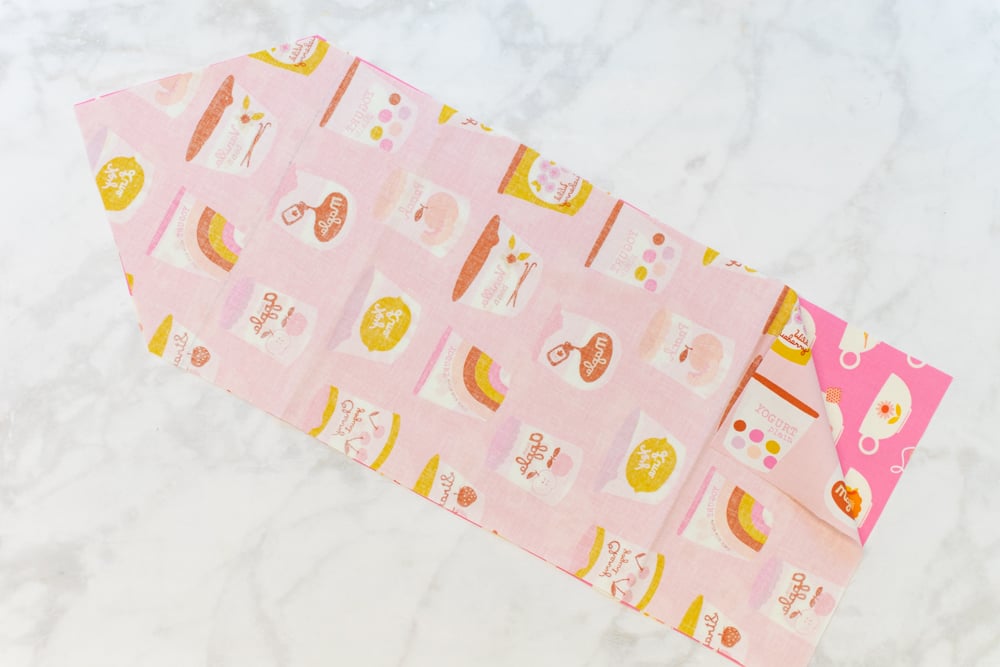
Next, place the wrap-n-zap piece on top of the wrong side of the lining.
Align all the edges of the 3 materials and pin them together.
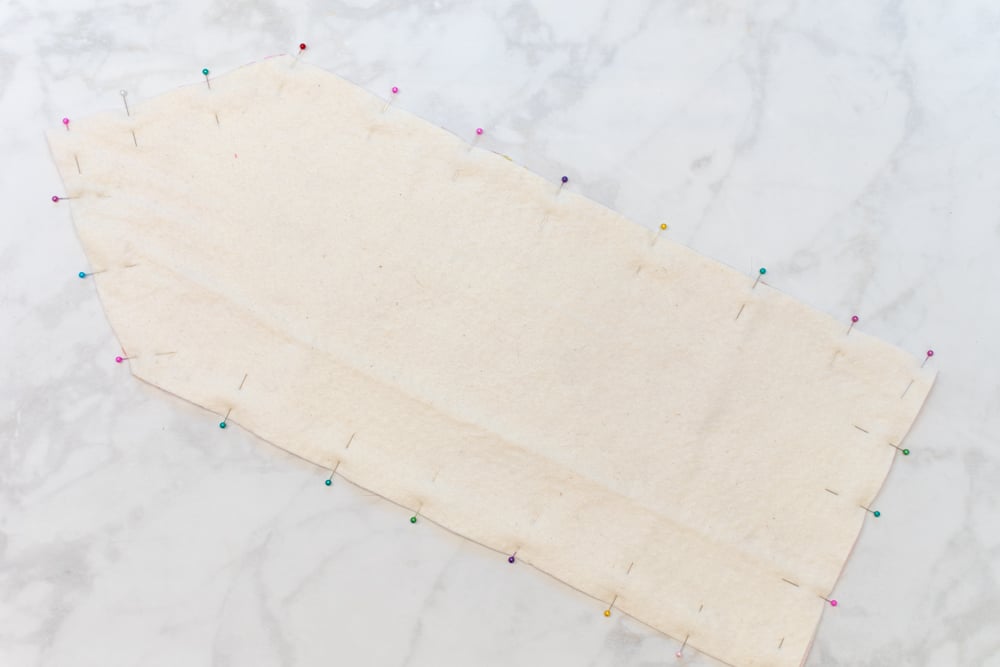
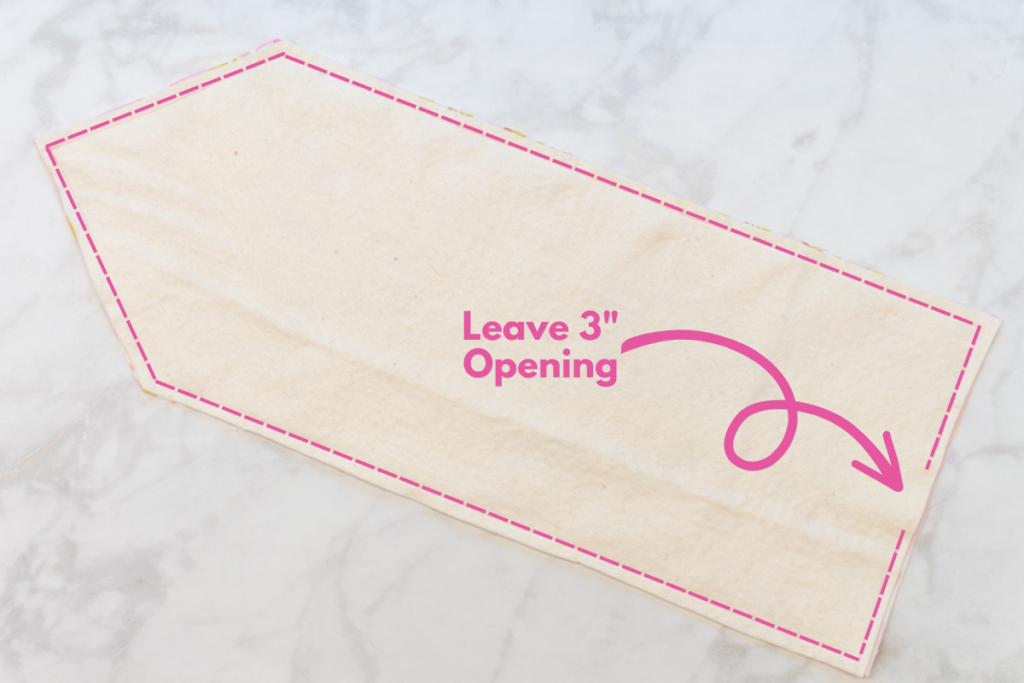
Take the potato bag to your sewing machine and sew around all the edges with a 3/8 inch seam allowance. Leave a 3 inch opening in the bottom straight edge to turn the pouch through later.
Make sure to rotate at each corner as you stitch. To do this, stop sewing when you reach 3/8 inch from the first corner. Leave the needle down in the fabric, raise the presser foot, then rotate the fabric so the next edge is in front of the presser foot. Put the presser foot back down and continue sewing the next edge. Repeat this process to rotate around each remaining corner.
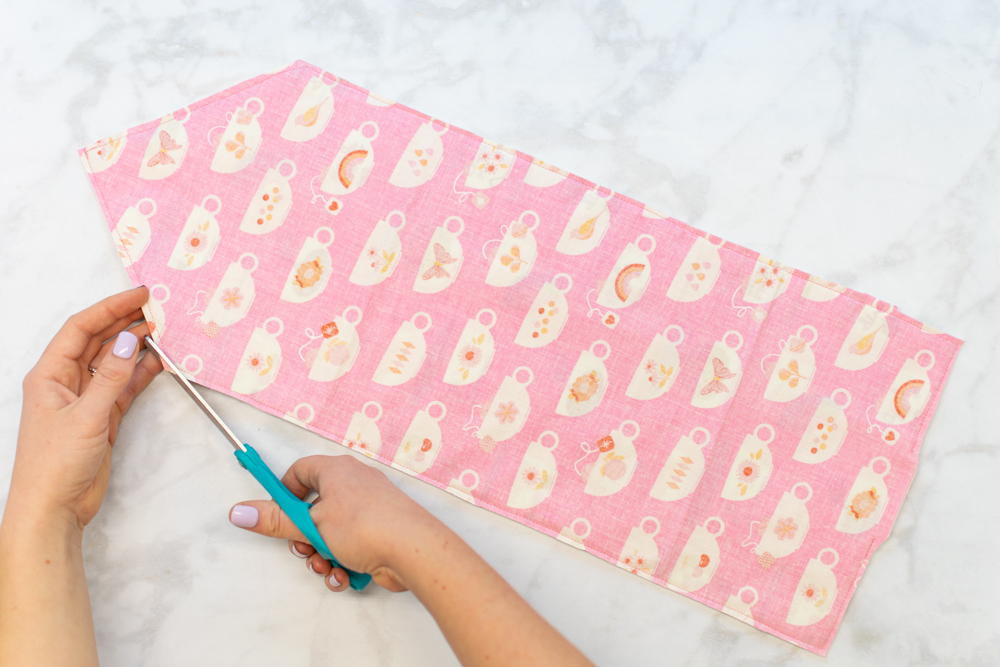
Once the materials are stitched together, trim the seam allowances down by half.
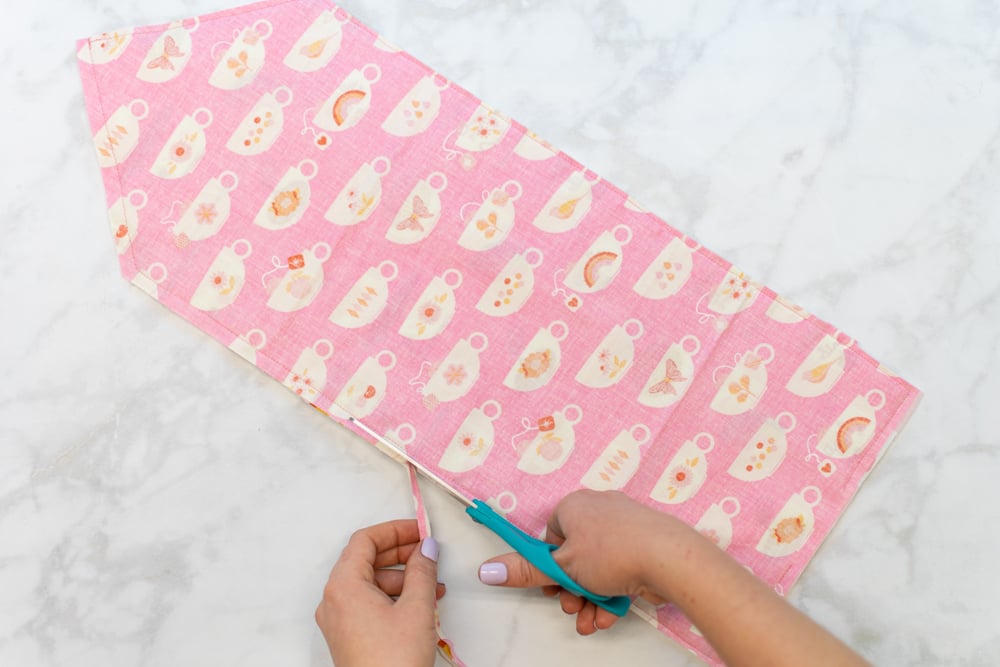
Next, cut away the corners from the seam allowance to reduce bulk. Be careful not to accidentally cut through your stitching!
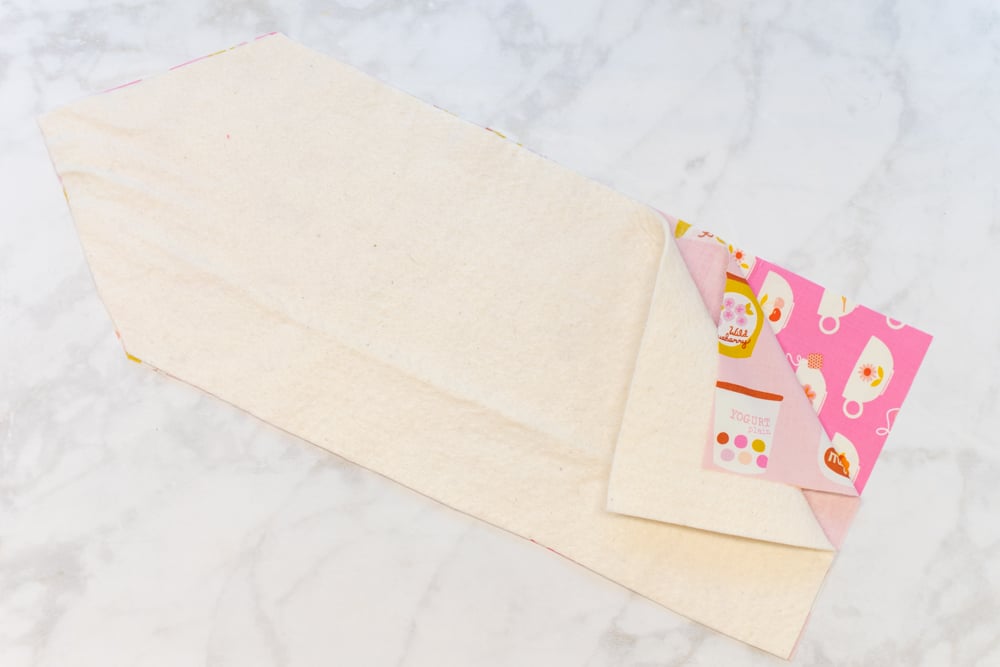
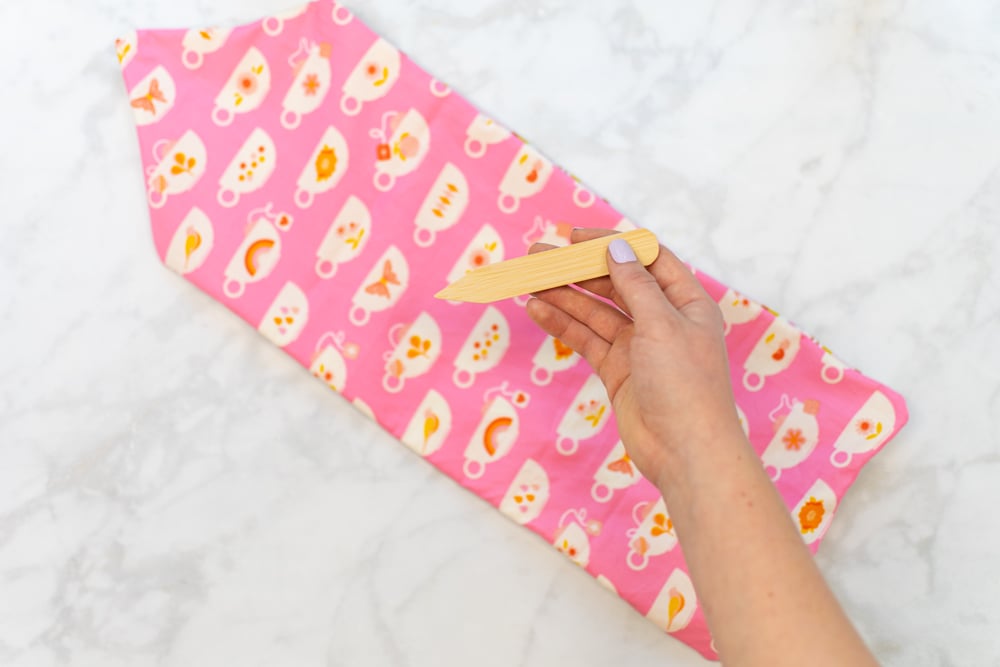
Turn the pouch right sides out through the opening in the bottom of the bag.
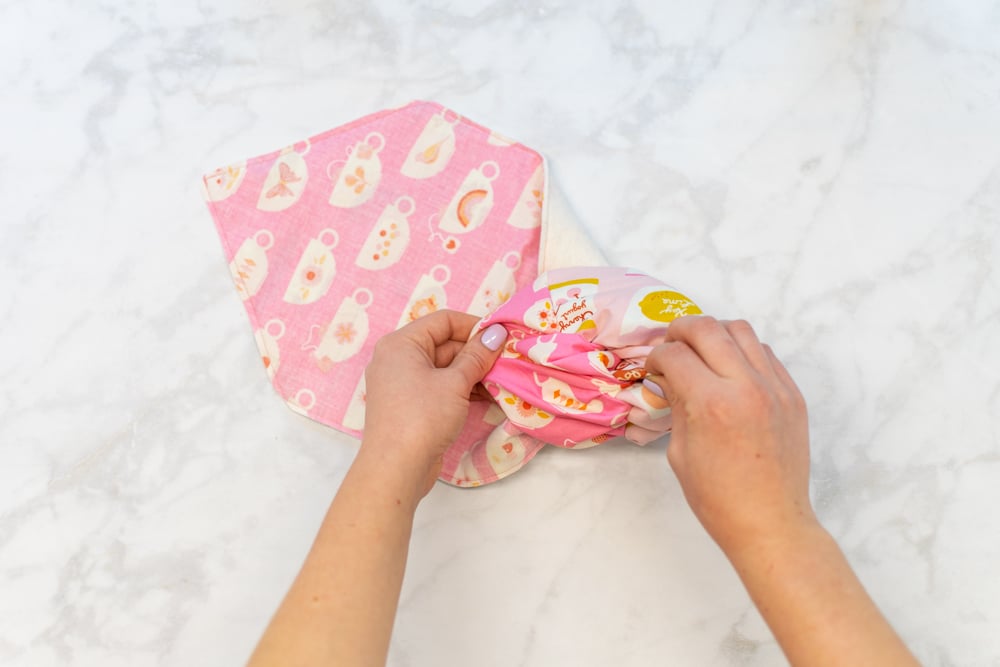
Push the corners out with a point turner or a chopstick to get nice, sharp corners.
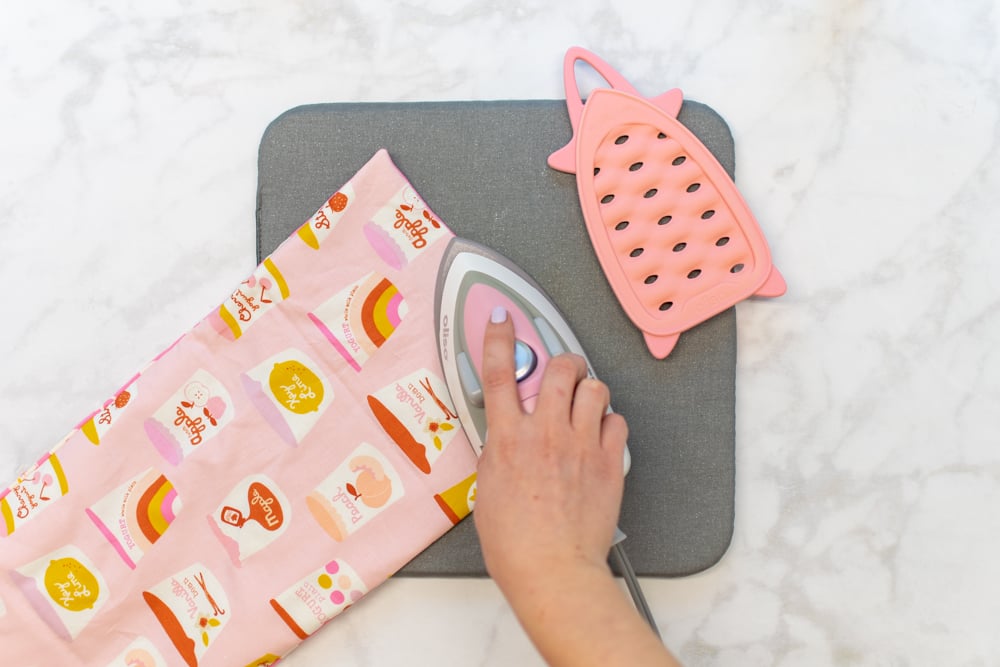
Then press the bag flat with your iron, pressing the seams to the edges. At the opening in the seam, press the raw edges to the inside to create a continuous straight edge.
Topstitch the bottom straight edge with a 1/8 inch seam allowance. This will close up the opening in the seam.
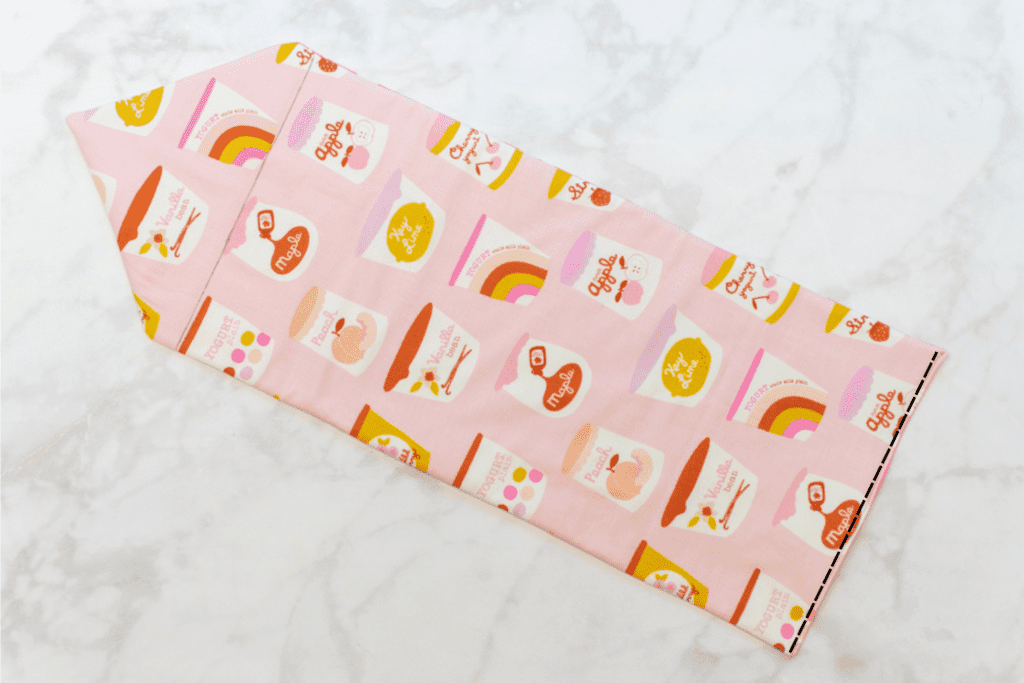
Next, fold the bottom edge up towards the lining side until the edge meets the fold line marked on the lining.
Pin the folded-up bottom edge in place, then pin the two edges together along each side of the pouch.
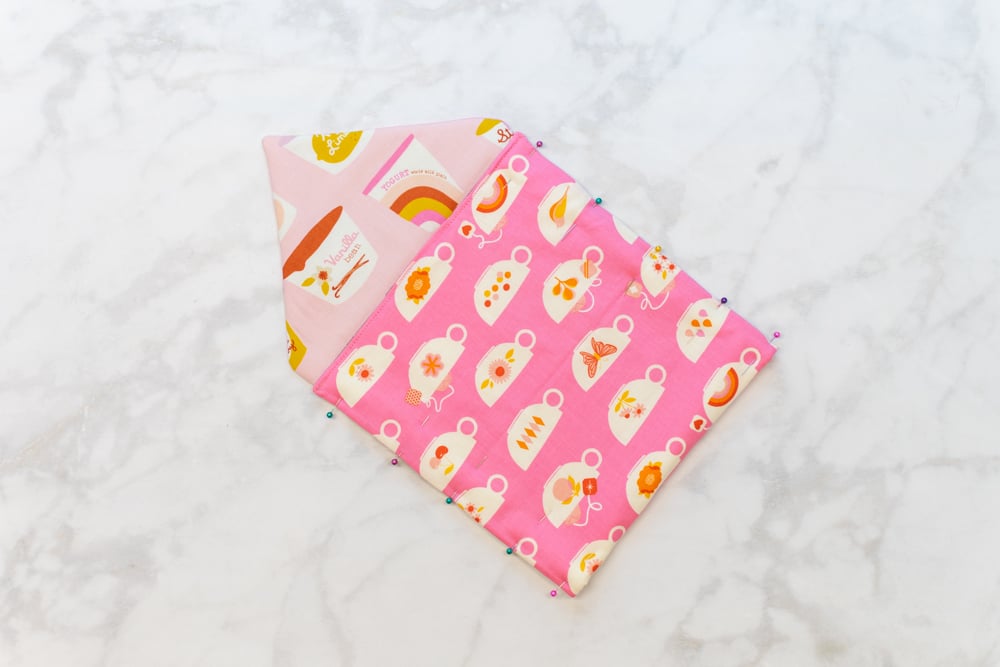
Finally, using a 1/8 inch seam allowance, topstitch the two sides of the pouch as well as around the top edges of the triangular flap.
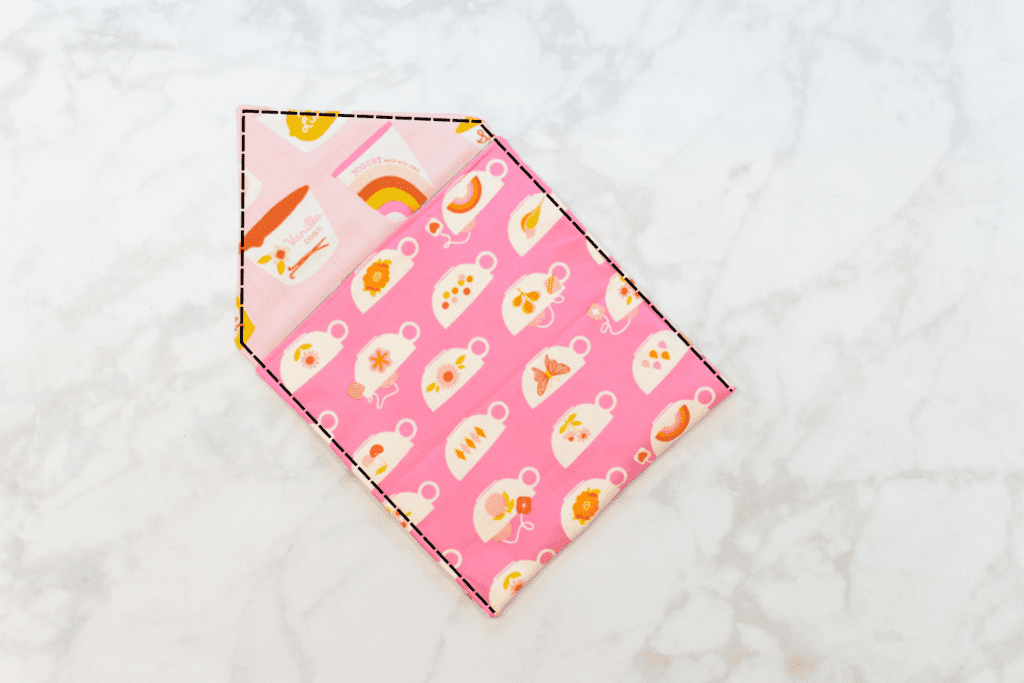
This topstitching will finish off your microwave potato bag - easy, right?!
Did you make your own potato bag? Post a picture on Instagram with the hashtag #sweetredpoppy - I would love to see how it turned out!
Looking for more awesome (and free!) kitchen-friendly sewing patterns? Try one of the patterns below!
Don't forget to join my Facebook group where you can show us what you're making, ask questions, and learn from others.
-->
I go to download the pattern and it downloads the directions but not the pattern. Download 4 times but it doesn’t work
I was not able to print this pattern in PDF form, all the choice was which program I used to open your email and print. Also my printer printed on both sides of the paper, so I have a lot of tracing to do. I printed out your BLOG to get the sewing instructions. That was 20 sheets of paper, double sided with mostly blanks on the sheets - I think that might have been advertising or possibly the pictures which would have been helpful.
Now you are a nice, talented lady, but paper and ink are expensive, so I'm hoping I never again have to try to print your BLOG.
Same thing happened to me. She needs to put the instructions in PDF form. So that way you don’t get all the junk and blank pages. All the patterns are that way.
Made the microwave potatoe bag. So easy and quick. Will make a few more for Chrissy gifts. Used your bucket hat pattern and bowl cozy. Hats and bowl cozies a hit with friends and family. Thank you
Have had potato bags in the past, but want to try my hand at making a homemade one.
I like the pattern, and am going to give it a try this week.